
Today, I will show you why those lines, called control joints, are cut into concrete.
I remember the first time I saw a concrete installer fire up a giant saw to cut into my brand-new driveway—I freaked out!
This guide explains why your concrete needs control joints.
Overview
What are control joints, exactly?
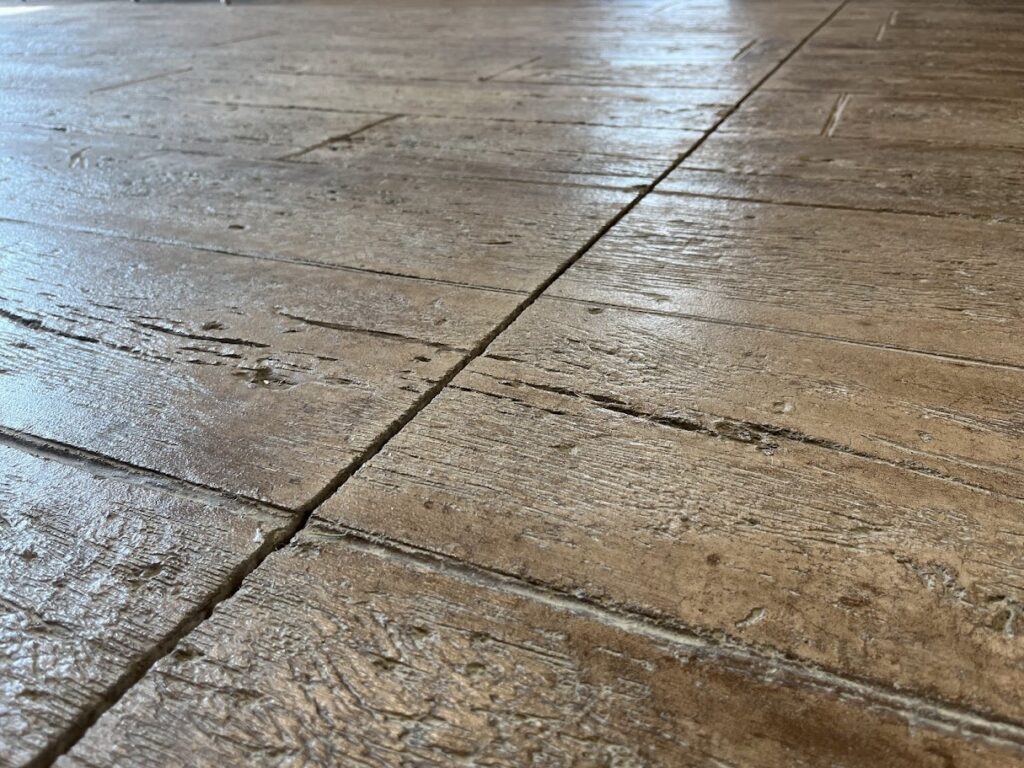
All concrete cracks. Control joints are intentional grooves placed in the slab to control where those cracks happen. Instead of random spider cracks, these joints guide the stress to break along clean, straight lines.
As concrete cures, it shrinks and builds internal pressure. Control joints relieve that stress and protect the look (and structure) of your concrete.
Steps
Here are the key steps every concrete installer should follow:
1. Start with a solid pour.
Pour your cement slab with the right fall, mix, and finish. A perfect pour means nothing if you don’t properly place your joints.
2. Follow the guidelines.
Use standards from the American Concrete Institute. Joints are typically spaced about every 10 feet and should be placed in high-stress areas, such as corners, intersections, or where the slab’s shape changes.
3. Pick your joint type.
There are two types of control joints, saw cut and tooled joints.
Saw cut joints are made with a concrete saw and offer clean, straight lines—great for driveways, garages, and
Tooled joints are made with a hand tool during finishing. These are more common for sidewalks and smaller slabs.

4. Set the right depth.
Your joint should be 1/4 the depth of the slab. For a 4″ slab, that means a 1″ deep joint. Don’t worry if the crack eventually goes all the way through—it’s working as intended.
5. Cut at the right time.
Place control joints within 6–12 hours of the pour, depending on the conditions. Too late, and the concrete may crack on its own.
Frequently Asked Questions
Q: How do control joints help extend the life of my concrete slab?
A: By managing where cracks form, control joints reduce the chance of random cracking, which helps maintain the structural integrity and appearance of your slab over time.
Q: Do all types of concrete projects require control joints?
A: Not all, but most exterior flatwork—like driveways, patios, sidewalks, and garage floors—benefit significantly from properly placed control joints.
Q: Is it normal for cracks to still appear even with control joints?
A: Yes, but these cracks will follow the joint line, making them easier to manage and less visually distracting. Random, spider-like cracks are far less likely if you install your concrete joints correctly.
Q: What happens if we place control joints too late?
A: If you cut your joints too late—after the concrete has begun to crack naturally—you may still see uncontrolled cracking. Timing is key to ensure joints work as intended.
Conclusion
Thanks to this Concrete 101 Guide, you now know that those lines in your concrete aren’t flaws—they’re protection!
Control joints are essential for keeping your slab strong and looking great. Always ask your concrete contractor about their jointing method, whether it’s your sidewalk, driveway, patio, or garage. And if you’re in Grand Rapids, Kalamazoo, or Battle Creek, choose a company with ACI-certified installers.
Kent Home Services is ACI certified, which means our team follows the highest industry standards set by the American Concrete Institute. If you’re planning a new concrete project or need help fixing a cracked driveway, we’re here to help. Contact us to get expert advice and professional service that ensures your concrete lasts.