
Today, I’m going to show you how a busy mom named Sally stopped her kids from tripping and crashing their bikes on uneven concrete in her driveway.
Meet Sally: A Mom With No Time for Trip Hazards
Sally is a 32-year-old mother of four who also works part-time from home. Her days are full. School drop-offs, Zoom calls, answering emails, and keeping her kids entertained.
Like most moms, she also doubles as the family nurse. When her oldest, Tommy, took a spill on his bike right where the driveway had sunk, she realized it was finally time to do something about it.
Her problem? She thought fixing the driveway meant paying for new concrete (expensive) and not being able to use it for weeks (super inconvenient).
Luckily, a mutual friend referred her to me at Kent Home Services. That’s when she learned that repairing an uneven concrete driveway doesn’t have to be expensive, messy, or time-consuming.
How Sally Got Her Driveway Fixed in Record Time
On August 4, Sally went to kenthomeservices.com and filled out our Free Estimate form. Sara from our office called her that same day and set up an appointment with Caleb, our ACI-certified concrete estimator.
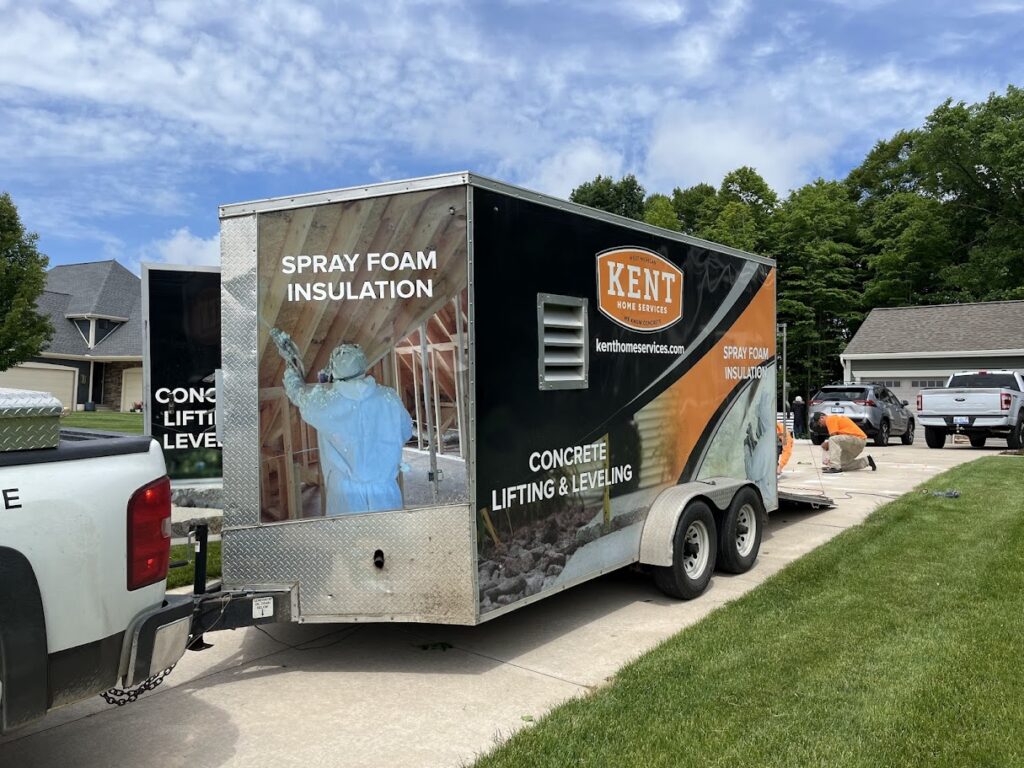
By August 6, Sally had her estimate in hand. That Friday, we leveled her concrete driveway with polyurethane foam, no replacement needed. Here’s the 5-step process we used.
The 5-Step Foam Leveling Process
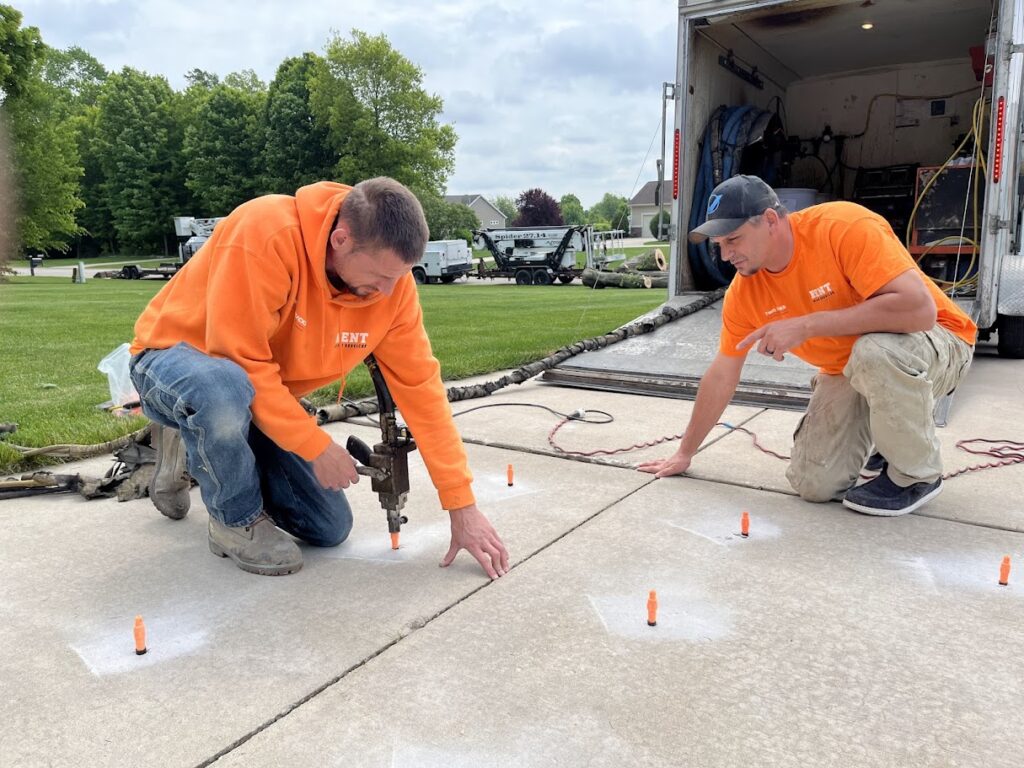
- Identify the problem slabs – We marked where her driveway had settled.
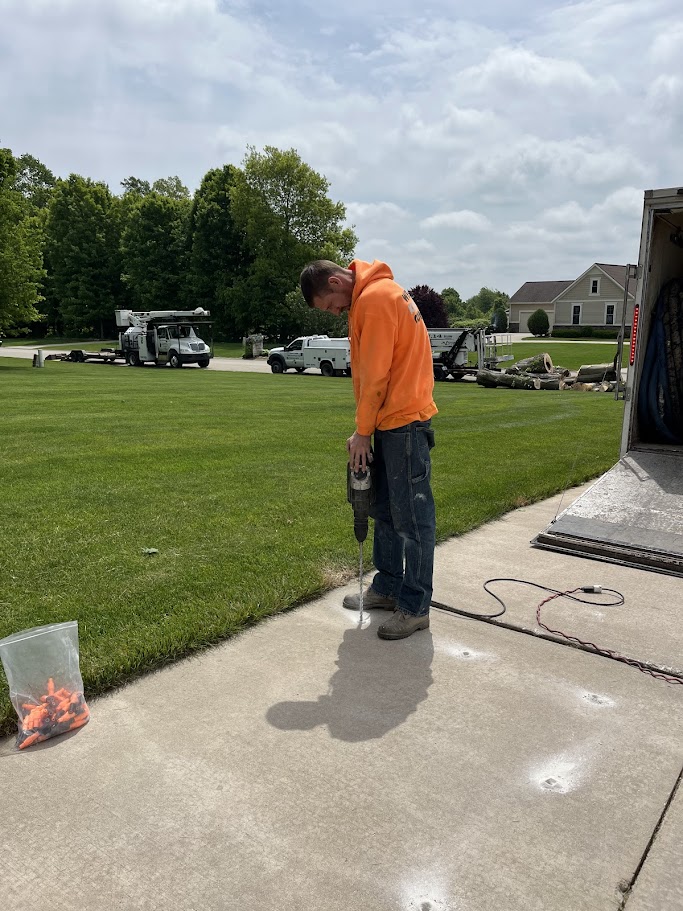
- Drill small holes – Just 5/8” holes drilled into the slab (no jackhammering needed).
- Inject foam – Our technician used an injection gun to pump environmentally friendly polyurethane foam beneath the slab. The foam expanded, filled empty spaces, and gently lifted the concrete back to its proper level.
- Patch the holes – The drill spots were patched neatly.
- Final check – We inspected everything and made sure Sally’s driveway was safe again.
The entire job took a few hours. Sally could use her driveway the same day.
The Results
Sally was thrilled. Her kids could play safely again, and she didn’t have to shell out thousands for new concrete. She also saved about 80% compared to replacement.
Best of all, no waiting around for weeks while the concrete cures.
Why Homeowners Love Foam Leveling
Sally’s story is a good example of why so many people turn to polyurethane foam concrete repair. It’s:
- Fast – Most jobs are done in under a day.
- Cost-effective – A fraction of replacement costs.
- Durable – Foam is waterproof, strong, and long-lasting.
- Convenient – You can use your driveway right away.
FAQs: Uneven Concrete Driveway Repair
Q: Is polyurethane foam safe for the environment?
Yes. We use closed-cell foam that’s eco-friendly and non-toxic.
Q: How long does foam repair last?
When installed correctly, polyurethane foam lasts for decades.
Q: Can you fix sidewalks and patios, too?
Absolutely! Sidewalks, porches, garages, and patios can all be leveled.
Q: Do I have to wait before using my driveway?
No. You can usually use it the same day.
Final Thoughts
Sally’s story is proof that uneven concrete driveway repair doesn’t have to be expensive or time-consuming. With our polyurethane foam leveling process, you can make your driveway safe, save money, and get back to using it the same day.
Want the same results? Contact Kent Home Services today for a free estimate and let our ACI-certified installers help you protect your home and family.